SSI Traffic Solutions: Traffic Safety Products in USA and Canada
Traffic Safety Products in USA and Canada
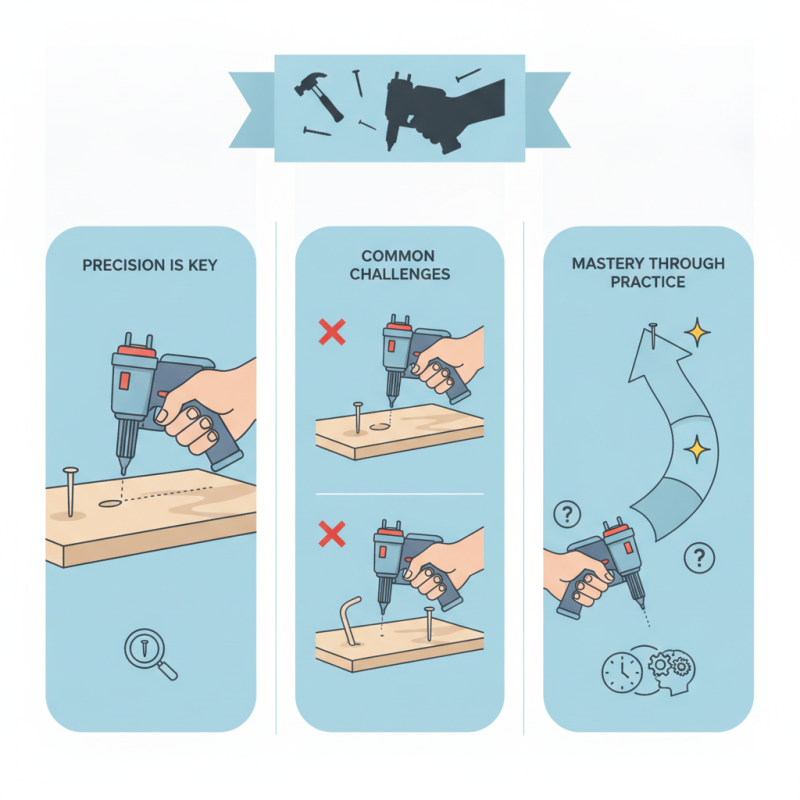
When it comes to carpentry, knowing how to Drive Pin Nails effectively is essential. John Smith, a renowned woodworking expert, emphasizes the importance of precision. He once said, “Perfectly driven pin nails can elevate any project.” This highlights the skill involved in mastering this technique.
Driving pin nails can seem straightforward, but many encounter challenges. Aiming for an exact placement requires practice. Inaccurate hits may lead to damage or misalignment. Tools and technique both matter. Using the right nail gun is crucial, but knowing your material is equally important.
Reflections on personal experiences reveal that mistakes happen. Skidding the nail can bruise the wood or lead to crooked results. However, with persistent effort, one can develop proficiency. Mastering how to drive pin nails takes patience and an understanding of the craft.
When driving pin nails, selecting the right tools is crucial. Pin nailers with adjustable depth settings allow for better control. For instance, a pneumatic pin nailer delivers consistent power for various materials. According to industry reports, improper tool choices can lead to a staggering 30% increase in project time. Choosing the right nail size also makes a difference—using 23-gauge pins is standard for delicate tasks, while heavy-duty applications might require something larger.
Comfort is another factor to consider. Ergonomic designs minimize hand strain during prolonged use. The National Institute for Occupational Safety and Health (NIOSH) highlights that poor tool ergonomics can lead to repetitive strain injuries. As a result, using lightweight models with cushioned grips can improve performance and safety.
Investing in quality tools may seem daunting. However, sub-par tools often lead to frustration and wasted materials. A recent survey indicated that 25% of amateur carpenters reported difficulties due to inadequate equipment. It’s essential to assess personal needs and trial tools whenever possible. Making informed decisions can enhance the craftsmanship of any project significantly.
Pin nails are essential for various woodworking and crafting projects. Understanding the different types is crucial for achieving professional results. There are several types of pin nails, including steel and stainless steel options. Steel pin nails are great for indoor projects, while stainless steel is ideal for exterior applications. Each type serves its purpose and can significantly impact the durability of your work.
When choosing pin nails, consider the length and thickness. Shorter pins work well for delicate work, such as attaching trim. Thicker options provide better support for heavier pieces. Remember that using the right size ensures a cleaner finish. It can be tempting to use whatever is handy, but sometimes that leads to flaws.
Tips: Always practice on scrap wood. Test your technique before working on the actual piece. Consistent pressure during driving is key. If you experience bending, it might be a sign of choosing the wrong nail type. Lastly, lighting plays a role in precision. Make sure your workspace is well-lit. This simple detail can improve your accuracy greatly.
This chart illustrates the common uses of different types of pin nails used in woodworking and craft projects. The 18 Gauge pin nails are the most commonly used due to their versatility, while 23 Gauge pin nails are preferred for delicate tasks.
When driving pin nails, proper technique is essential for precision and effectiveness. Start by selecting the right pin nail size for your project. According to industry reports, using the correct gauge can improve hold strength by up to 30%. Hold the nail at a 45-degree angle. This angle helps prevent splitting. Use a nail gun or a hammer. A pneumatic nailer is preferred for consistent results.
Practice is key in mastering pin nail driving. Aim for a clean entry point. An uneven entry can lead to issues down the line. Many professionals recommend using a scrap piece of wood to practice. This helps build muscle memory while ensuring accuracy. Take the time to adjust your hand pressure and angle. A small error can affect the nail’s effectiveness.
Be mindful of depth as well. Over-driving or under-driving can create problems. Consistency here is vital. Keep an eye on how the nail sits flush with the surface. If it’s too proud or sunk too deep, consider adjusting your technique. Reflecting on past projects can help identify areas for improvement. Adopting these techniques will enhance your skills dramatically.
Using pin nails can be tricky, and many people make common mistakes. One frequent error is not selecting the right length for your project. If the pin nails are too short, they may not hold securely. Conversely, nails that are too long can split the wood. This mismatch can affect the durability of your work.
Improper tool handling is another pitfall. It's easy to press too hard while driving the nails. This can lead to bent pins or damage to the material. Instead, a gentle yet firm grip is essential for precise placement. Additionally, many users overlook the importance of a consistent angle. A slight tilt can cause the nail to miss its target, compromising stability.
Lastly, failing to pre-drill can create issues, especially in harder woods. It often leads to a split that ruins the aesthetic. Recognizing these mistakes can enhance your pin nailing skills. Reflect on your technique regularly. Improvement comes with practice and awareness of these common errors.
When working with pin nails, safety is paramount. Always wear safety goggles to protect your eyes from flying debris. Work gloves are also essential. They protect your hands from sharp objects and pin nails. Make sure your workspace is clean. A cluttered area increases the risk of accidents. A well-organized space helps you focus on the task.
Check your pin nailer before use. Ensure all parts are functioning correctly. A faulty tool can cause injuries. Be cautious with the air pressure settings. Too high pressure can drive pins too deep or cause them to ricochet. Be aware of your surroundings. Ensure no one stands close while you are nailing. Always point the tool away from people and pets.
Practicing on scrap materials can help. This allows you to gauge the tool’s force. It also helps in improving your technique. Mistakes can happen. Pin nails can sometimes miss their target. If this occurs, reassess your aim and adjust your angle. It’s a learning experience that can enhance your skills. Stay vigilant and learn from each session.